
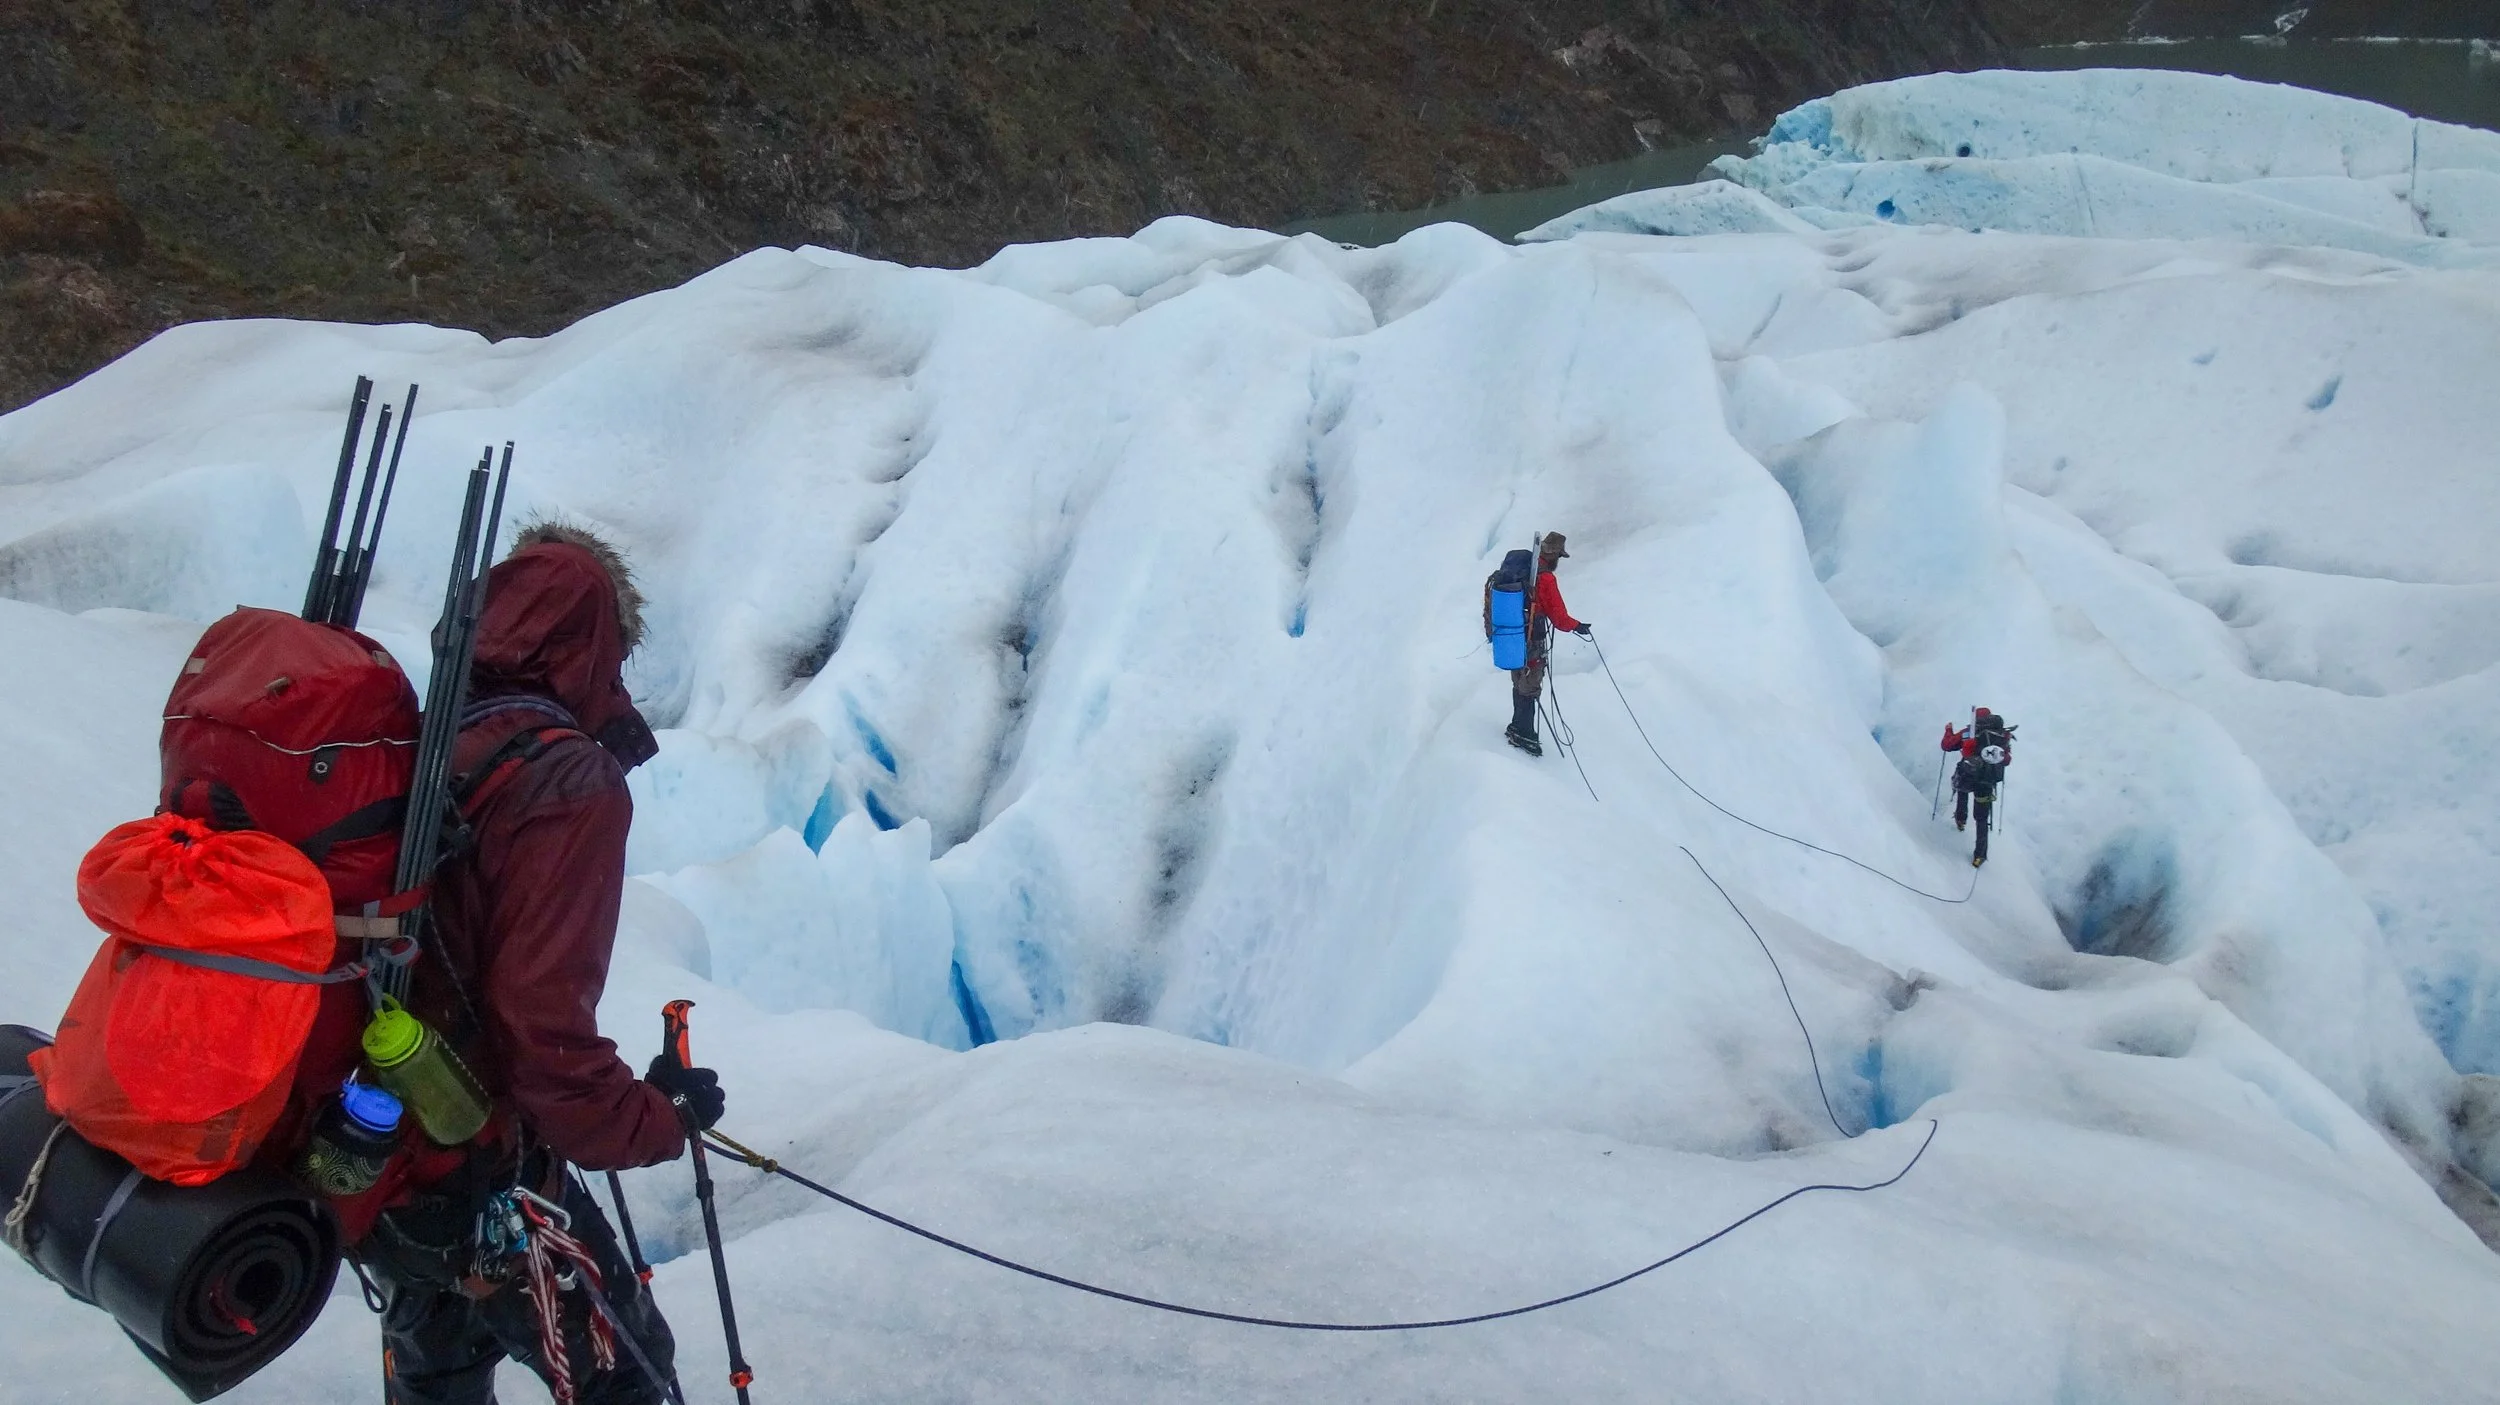
General preparation
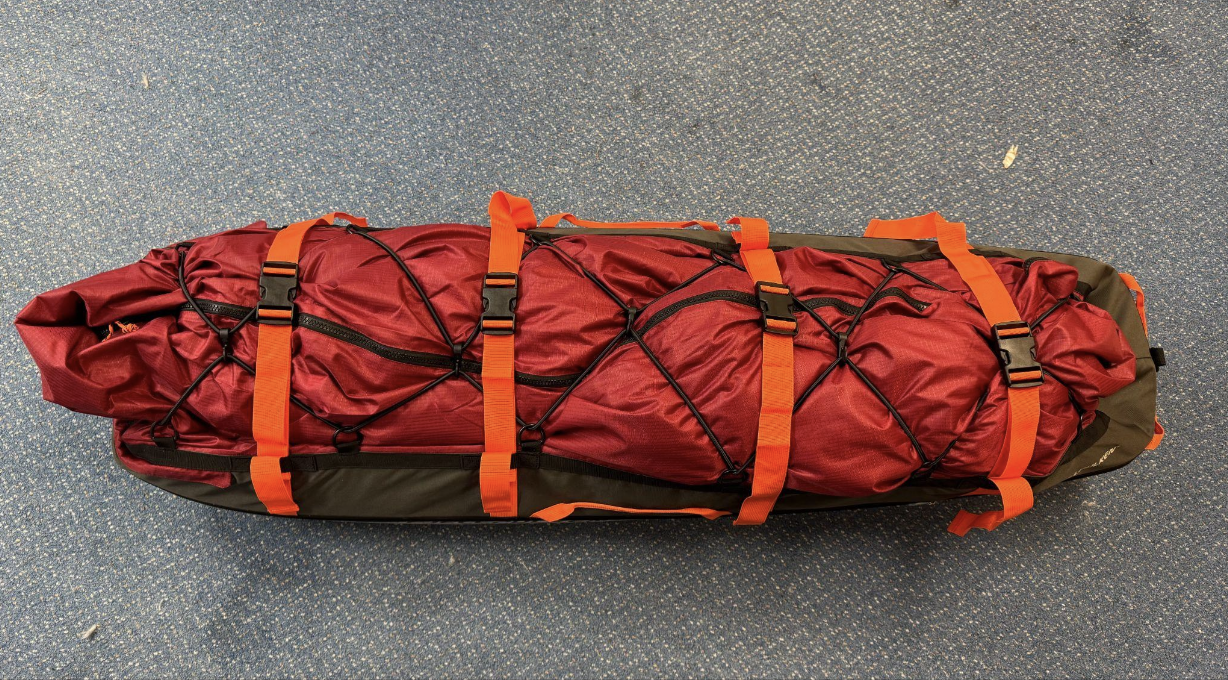
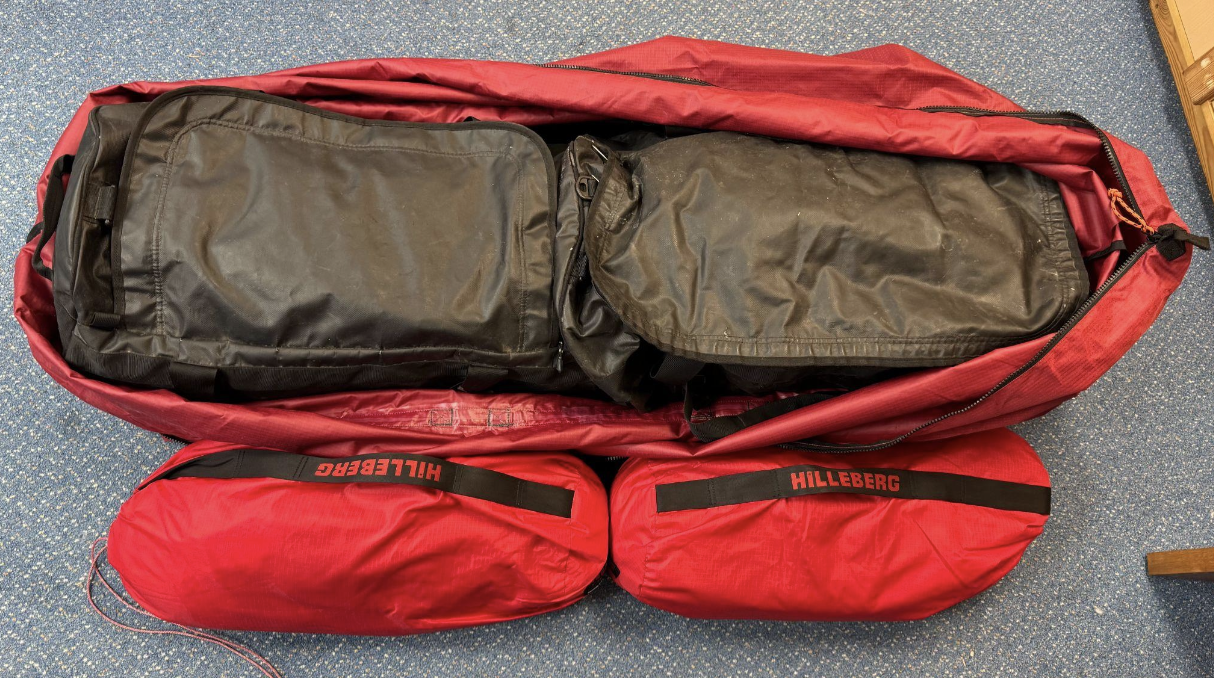
The Pulk
Once you have used a pulk in winter it will be hard for you to go back to a rucksack. Minimum
550 and up to 715 litres of capacity, rigid or roped - these are things we will discuss on the
expedition. Pulk internal dimensions(in cms) 147(L) x 44(W) x 60(H)
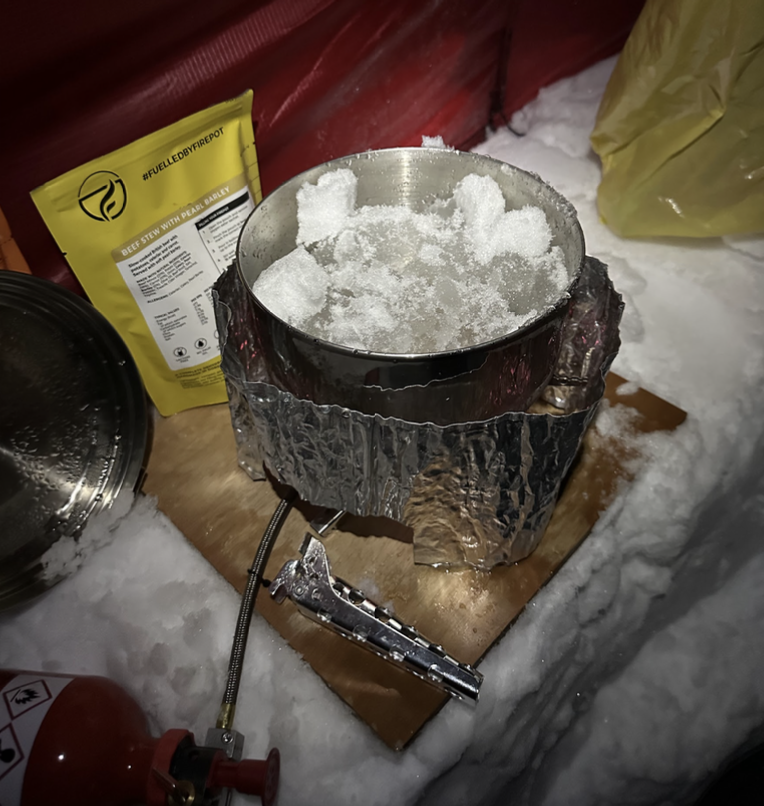
How do we cook or heat water? - The Stove system (Nordur to provide)
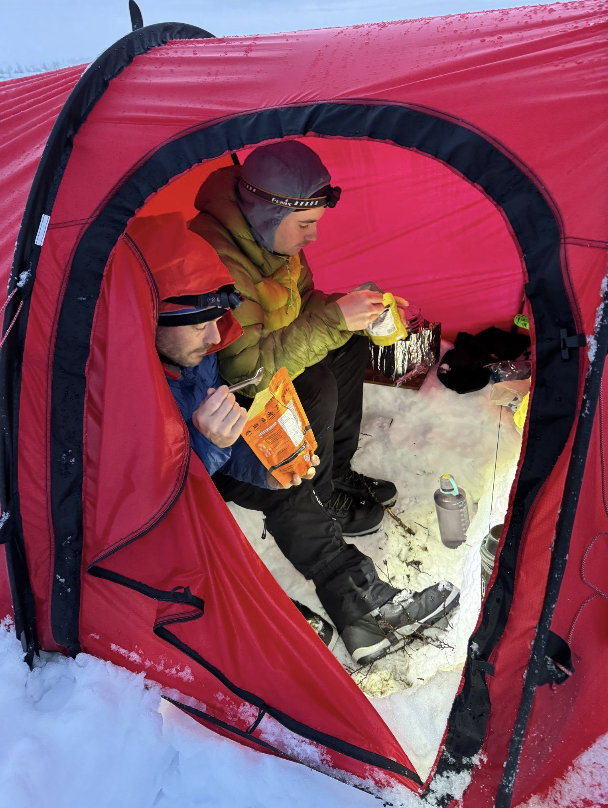
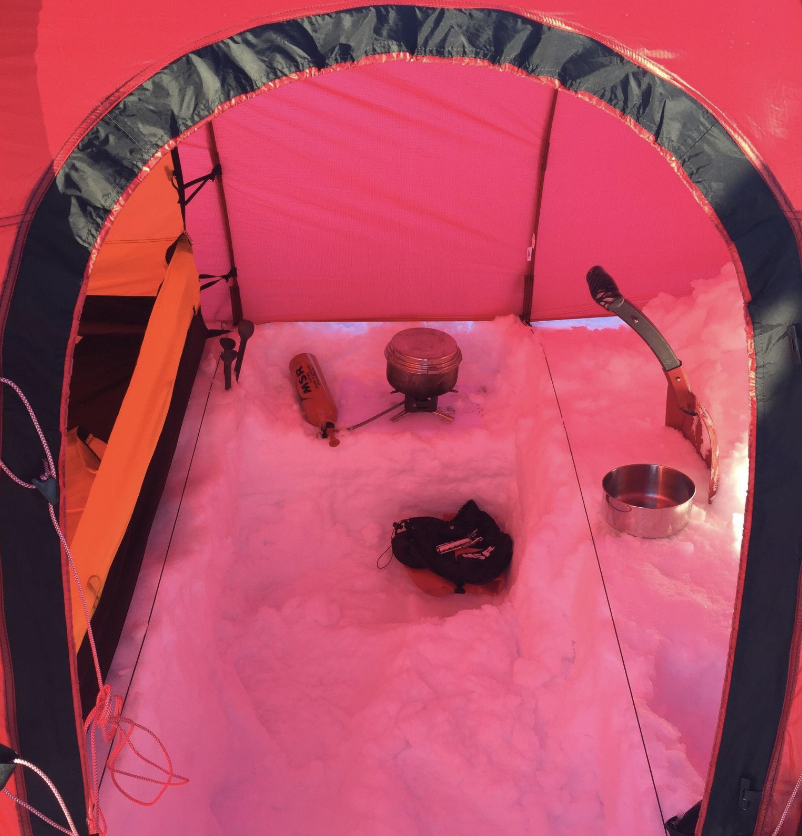
Eating and Drinking Utensils
My preferred Spoon x 2 - https://www.lifeventure.com/products/titanium-spoon
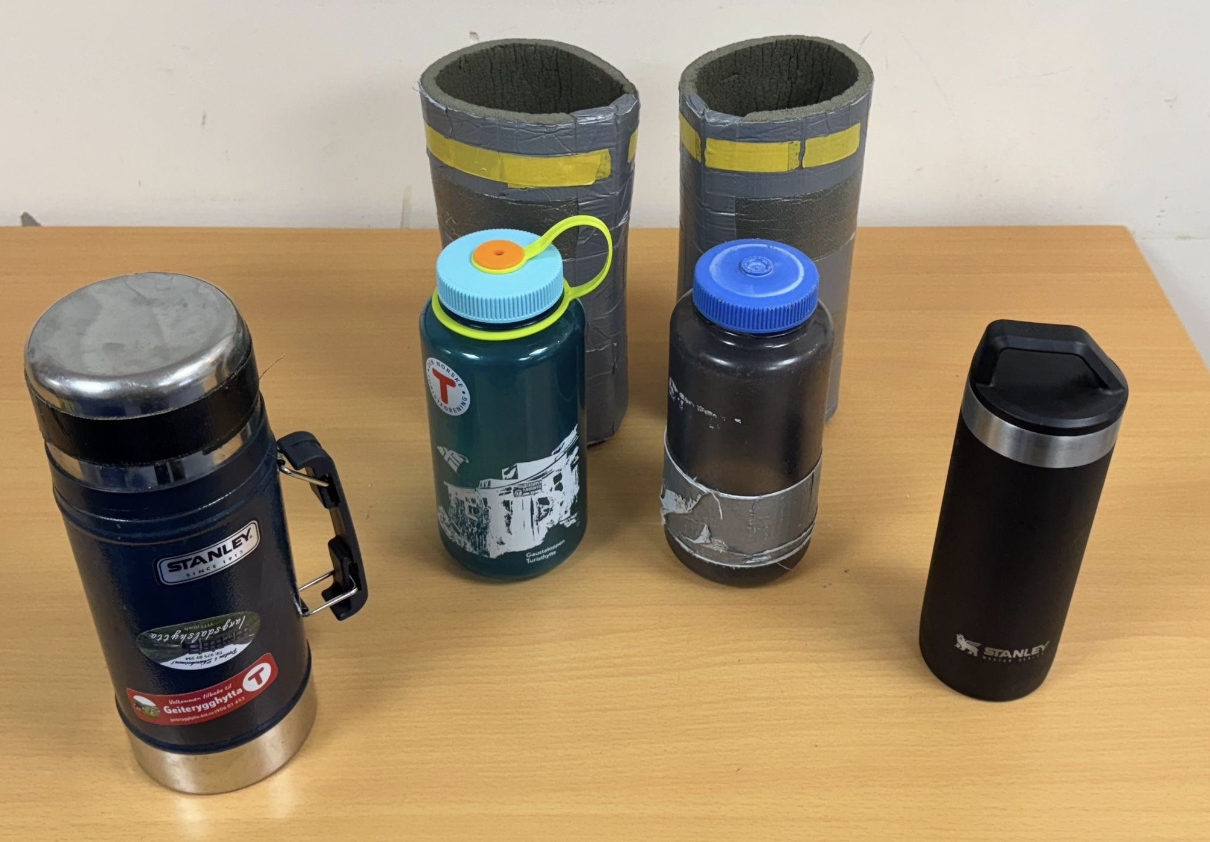
My preferred Fluid set up.
This setup is top-tier ("the Rolls-Royce of set-ups"). A more
basic option includes a 1-litre Stanley flask, a simple camping mug (large enough for soups), and the two Nalgene bottles.
Stanley 1 litre flask
https://uk.stanley1913.com/products/classic-legendary-bottle-1-1-qt?variant=41204279443646
Stanley Food Jar
https://uk.stanley1913.com/products/classic-legendary-food-jar-spork-0-4-l?variant=42184127774910
Two wide-mouthed Nalgene bottles with insulators (which can be made from
shaped and duct-taped sections of old roll mats).
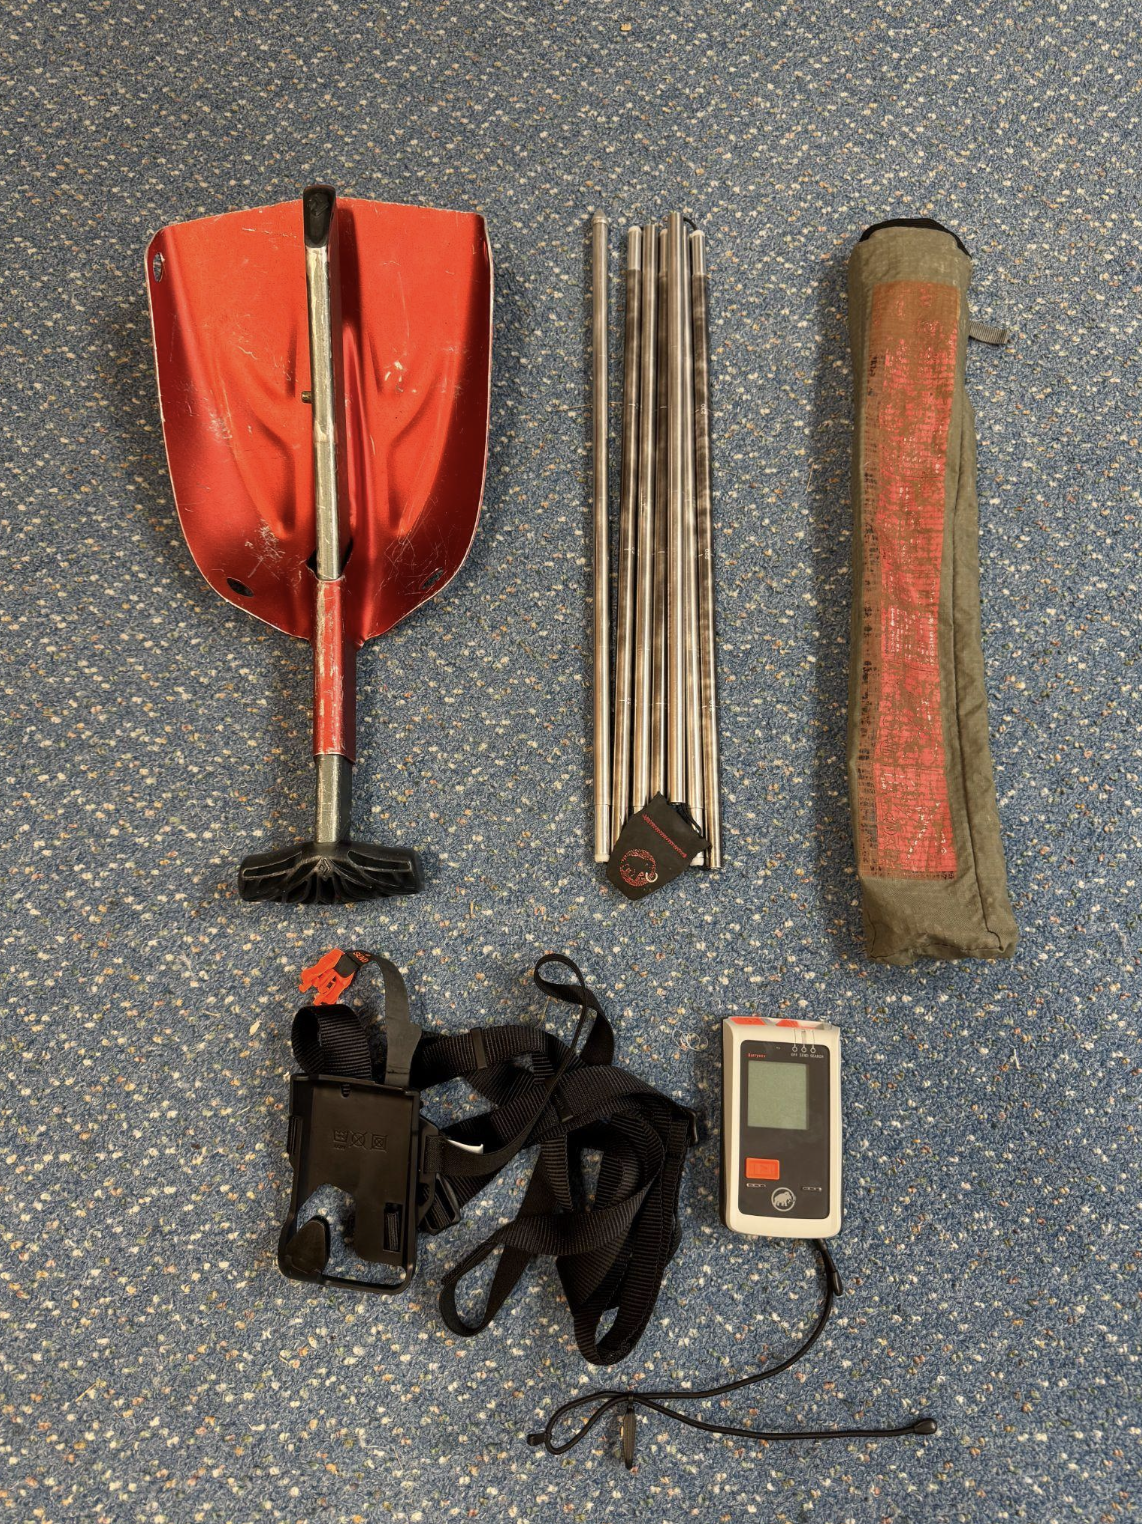
Safety equipment - Tent team (Nordur to provide)
2 x Transceiver device + Chest harness
1 x avalanche probe
1 x snow shovel
Expedition group safely equipment (Nordur to provide)
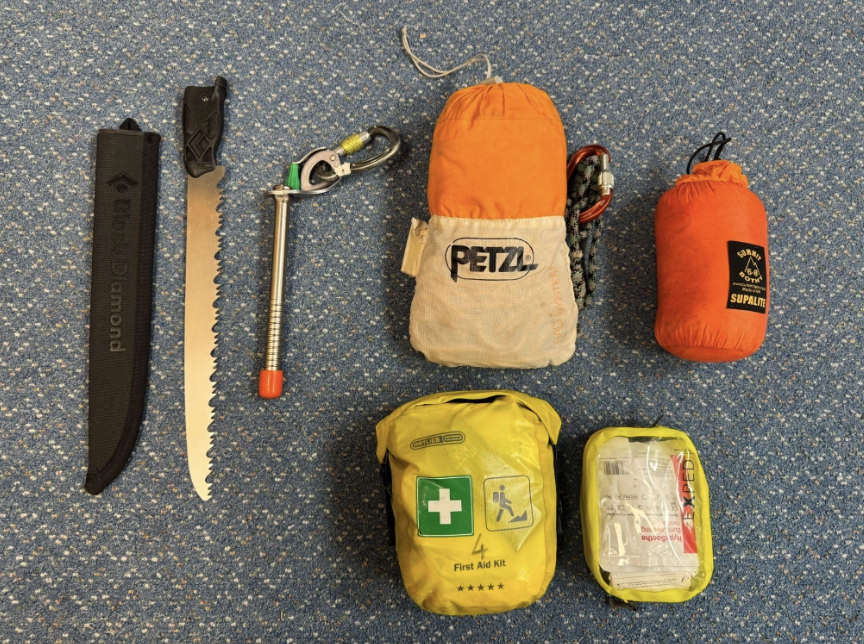
Spares/Fix kit
Snow saw
21cm ice screw
30m weight bearing rope
Group shelter
First aid and burns kit
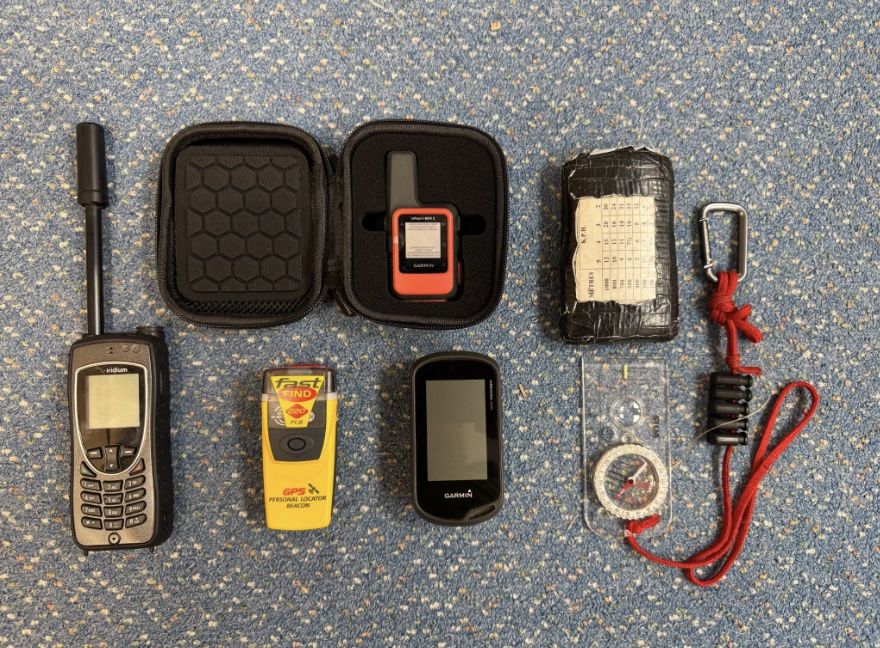
Satphone
Inreach device/PLB
GPS + Compass
Rental equipment and Group equipment
Any equipment borrowed from us must be returned complete, intact, and in serviceable
condition, with all components present and consumables returned in the correct quantities, as
issued at the start of the expedition.
Individuals are personally responsible for any loss, damage, or missing items beyond normal
wear and tear. Where equipment is not returned as issued, the cost of repair or replacement will
be charged. Instead of requiring a security deposit before departure, we operate this on a basis
of trust.
Skis package
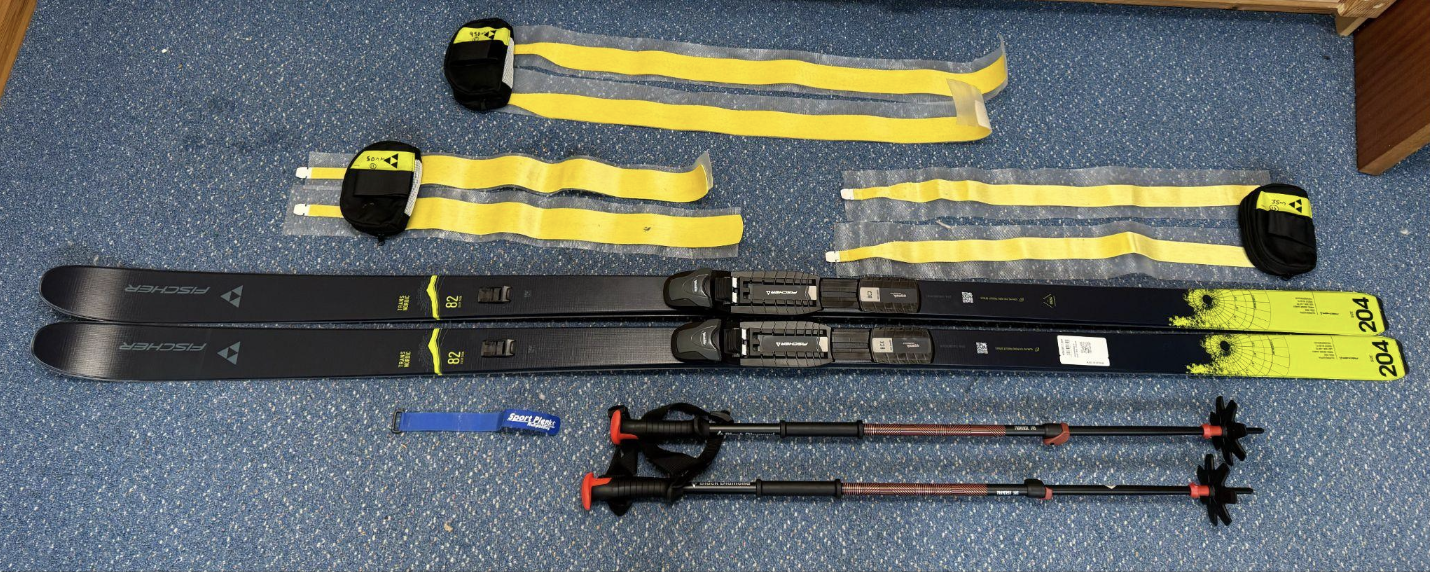
3 x skins + 3 x bags (quarter, half and full)
Ski strap for holding the skis together in transit
Ski poles and Snow baskets
Skis and Bindings
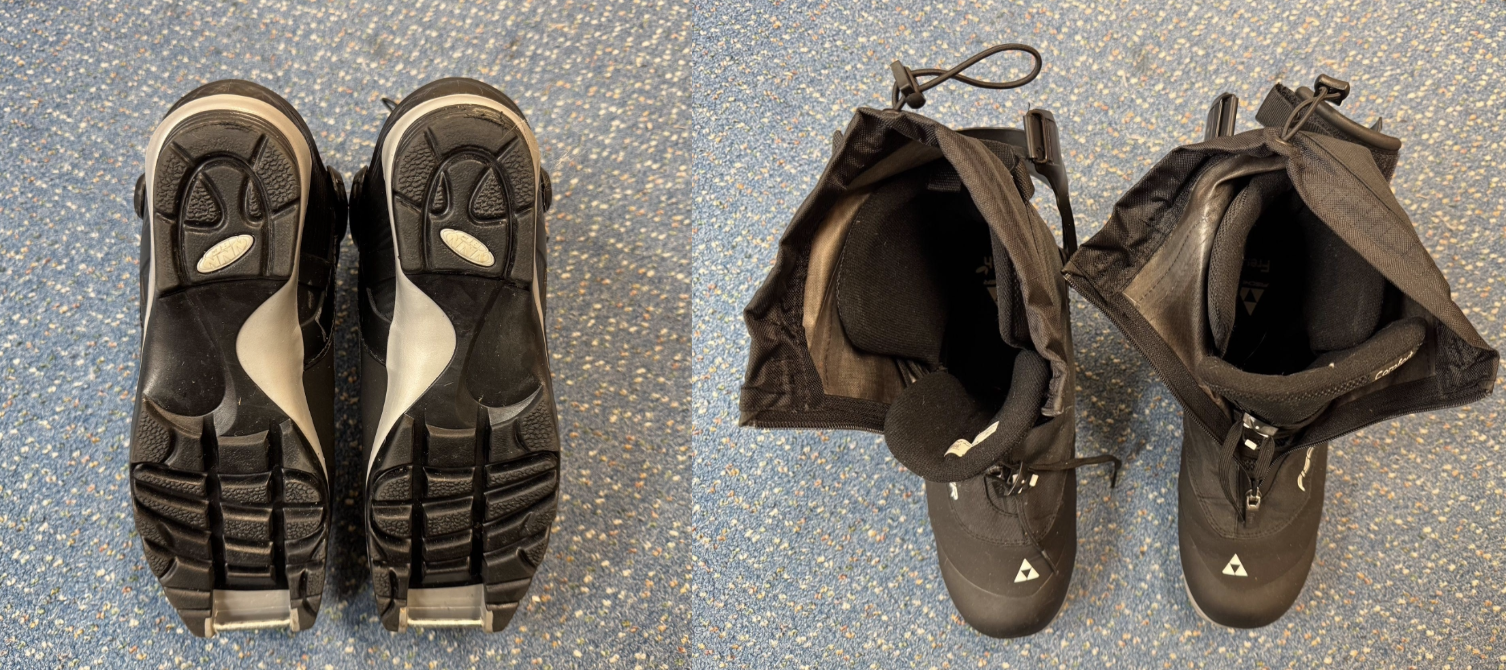
Ski boots
What to Expect on Expedition
Life in the tent
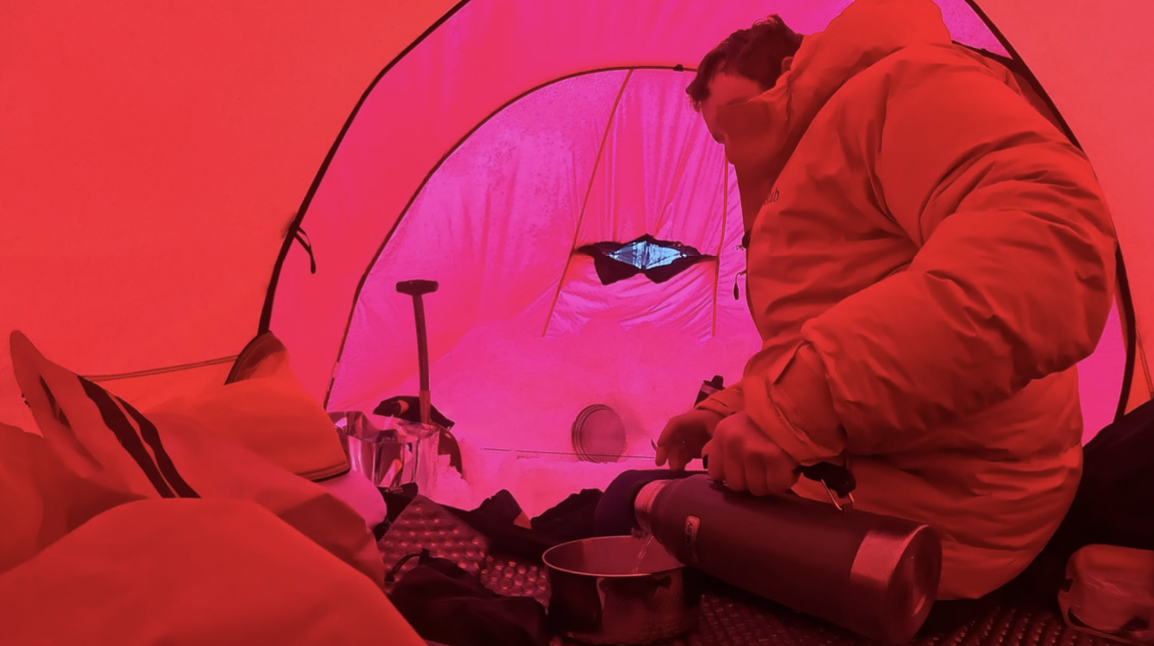
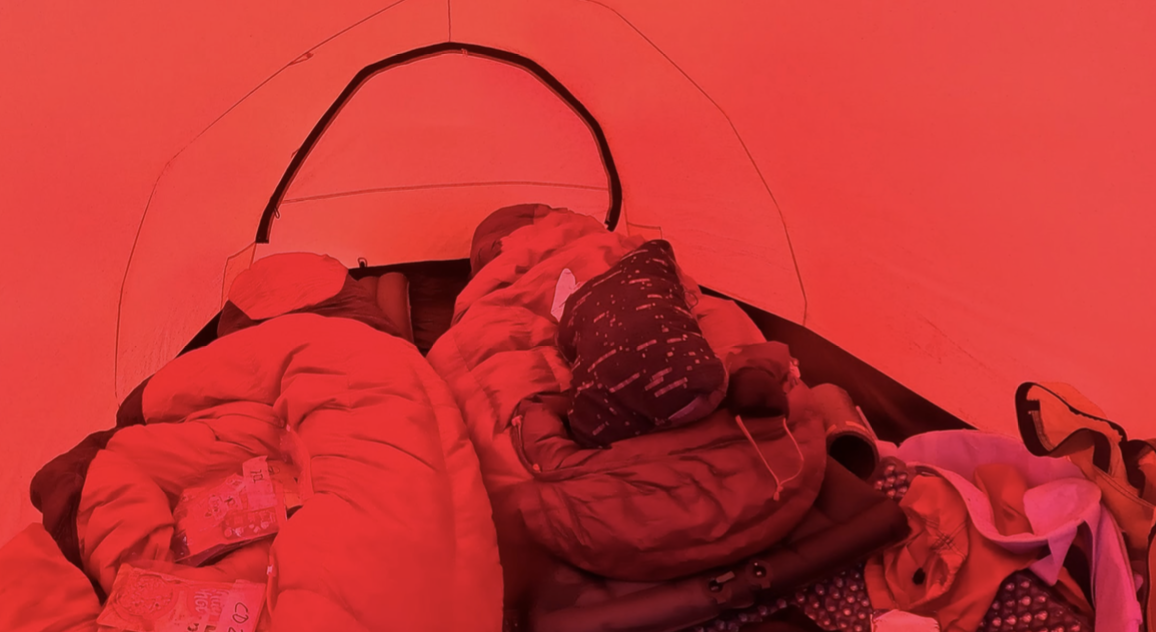
Life in the tent is cosy and sociable. It’s the point in the day when you wind down, eat food and recover for the next day. Don't worry, you and your tent partner will quickly establish an enjoyable and efficient routine. While solo occupancy may be desirable or preferable in other contexts, we strongly discourage it in the Arctic environment. The extensive and often overwhelming nature of the daily tent routine, including maintaining comfortable temperatures, is much more manageable with two people. Furthermore, being alone can lead to long, lonely nights. However, we will never force this decision. We will discuss this with you and always provide alternative options. If you are a light sleeper don’t forget headphones and several sets of earplugs! We use large 3 person tunnel tents for 2 people (Hilleberg Keron 3GT)
The Tracks
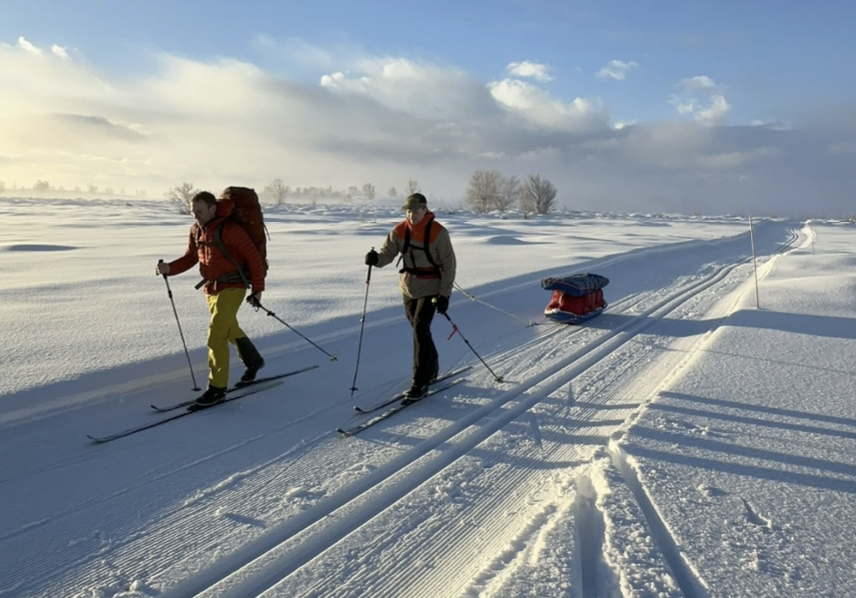
In the Scandinavian winter, three types of tracks are encountered:
1. Pisted: Shown on map as hard blue line, these are professional, prepared tracks on the map, including a classic track (two grooves) and a flat section for skate skiing or pulling a pulk.
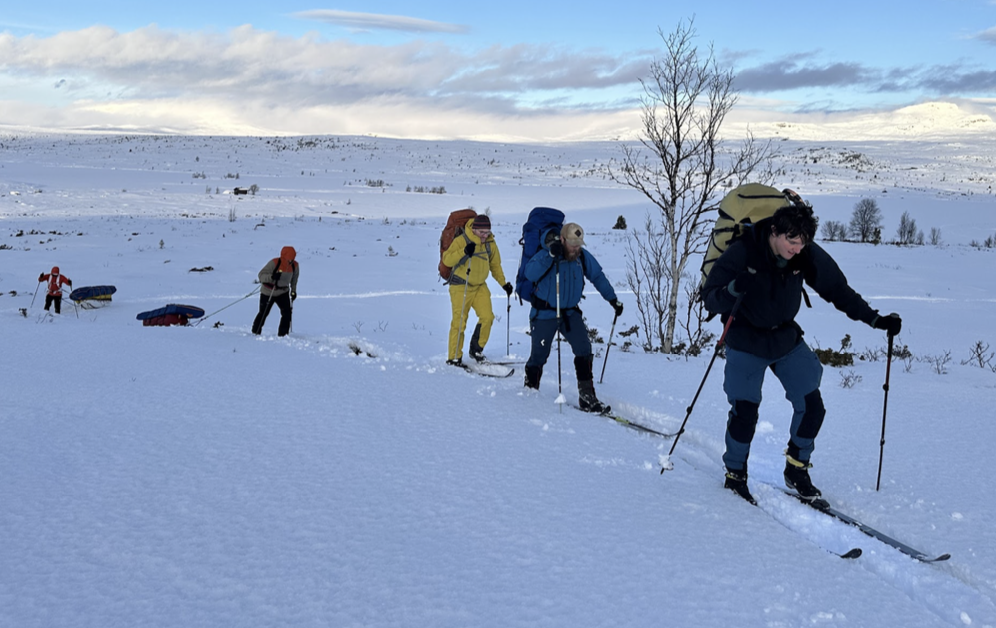
2. Marked Winter Trail: Shown on map as dotted blue line, these are established routes marked by professional guides with tree branches every 10 meters to ensure the path avoids avalanche-prone terrain.
3. Off Tracks: Areas where you forge your own path.
During the course, movement primarily occurs on marked winter trails or off tracks, depending on the ground conditions and other factors. The daily distance covered is targeted at approximately 15 kilometers, which is a significant distance considering the comprehensive learning and skills development integrated throughout the day.
FAQ - Top tips
-
The best preparation is lots of low-intensity, high-repetition endurance work. Winter expedition travel is rarely about short bursts of speed. It is about being able to move steadily for many hours while pulling a pulk, managing cold, and then still having enough energy to put up tents, melt snow, cook food and look after yourself in camp.
Time out in the hills is always the best preparation. Long hill walks, steady days on rough ground, and carrying a rucksack all help build the sort of endurance you need. The aim is to develop a strong aerobic base — the ability to keep working at a low to moderate intensity for a long time without burning out.
This links closely to the approach used in Training for the New Alpinism, a well-known training book for mountain endurance and alpinism. The book focuses on building a large aerobic base, improving muscular endurance, and developing the body’s ability to work efficiently for long periods. In simple terms, you are trying to build the engine that allows you to keep moving all day, recover well, and repeat the effort again the next day.
You can find the book here: Training for the New Alpinism: A Manual for the Climber as Athlete by Steve House and Scott Johnston.
Good training options include:
Long hill walks at a steady pace
Cycling, especially on hilly routes
Spinning classes
One-hour sessions on the stair master
Weighted walks or step-ups
Tyre-dragging sessions to simulate pulling a pulk
Strength endurance work for legs, hips, glutes and core
Tyre training can be particularly useful because it gives you a closer feel for pulling resistance behind you. Start gently and build up gradually. Several short sessions each week are usually better than suddenly doing one huge session and injuring yourself.
The fitter and more prepared you arrive, the more you will get out of the journey. Good fitness does not make the expedition easy, but it gives you more capacity to enjoy where you are, learn new skills, deal with the cold, and recover properly between days.
The main thing is consistency. You do not need to train like an elite athlete, but you do need to arrive with a body that is used to steady effort over long periods. Build slowly, avoid injury, and focus on endurance rather than speed.
-
Both airports are outside of Oslo city centre where the course starts but there are easy transfers
into the city for both. One is around 20 mins and the other around 1hr 35. Nearly everyone
around the cities in Oslo speak great English so don't worry about language barriers.
Torp - Take the transfer bus that aligns with flights landing into city centre Oslo Bus Station.
Gardermoen Airport (OSL) - Grab the “fly to get” the airport express transfer. You can book
tickets easily on the link below but I normally get them upon arrival personally.
The course start/meeting place is officially the bus station in Oslo, but everyone arrives the day
before as the mornings early transfer time dictates this. The Nordur guide team will always be
around this afternoon/evening to check over kit and start to get to know each other. We will
always be based at the Anker Hotel. Pop us a message when you land and we can arrange a
meet up.
To get to Anker Hotel from Oslo Central Station (Oslo S) (the main train/bus hub), take a short
tram ride (lines 11, 12, 17, 18) to the Nybrua stop, and the hotel will be just a few steps away on
your left; alternatively, it's a short walk (about 10-15 mins) through the city center.
From Oslo Central Station (Oslo S):
Head to the Tram Stop: Exit Oslo S and find the tram platforms.
Catch the Right Tram: Take Tram 11, 12, 17, or 18 in the direction of Kjelsås (for 11/12) or
Grefsen (for 17/18).
Get Off at Nybrua: This stop is very close to the hotel.
Walk to Hotel: You'll see Anker Hotel on your left as you exit the tram.
Alternative (Walking):
Anker Hotel is centrally located, about 0.7 miles (around 1 km) from the city center, so walking
from Oslo S is also a pleasant option, taking roughly 10-15 minutes.
Paying for your Tram
The Ruter App (Recommended)
Download: Get the "Ruter" app on your smartphone.
Buy: Purchase single tickets (1-hour, 24-hour, etc.) or period passes directly in the app.
Pay: Use credit/debit cards, Apple Pay, Google Pay, or PayPal within the app.
Validate: Activate the ticket in the app before boarding and show it if asked.
-
There are lots of ways to pack and get prepared for your expedition. Here is an example of what we think is a good way to approach it. On our Polar training course we will be sharing a pulk and having one large rucksack between two. This gives you a chance to understand the pros and cons for both. On our crossings and Femundsmarka you will have a pulk each and no rucksack.
Pack all items needed for the expedition in their own cubes/drybags, i.e. spare layers, medication, clothes for leaving in the city(you can leave any items not needed for the expedition phase in the left luggage room at the anker hotel), making sure you definitely have your sleeping bag and essential clothing in a good quality dry bag to ensure it stays dry in every eventuality – see picture above (pulk moving across open lead). Folding and rolling clothes is key in this process to be space efficient. This should all be put inside an expedition duffle that can be used on the airplane and put in the pulk later. The Duffle must have good shoulder straps so that you can have hands free for 15mins plus carrying pulks/skis to and from trams, buses and trains. Their are lots of brands that offer duffles, TNF are probably the best still but others like ME or Marmot are great too. I would recommend XL or XXL so they are big enough for longer trips withwinter kit and 23kgs allowance on plane.
When you meet us at the Anker Hostel, you will be handed any equipment you have rented from us, as well as the below list:Group kit – tent, snow pegs, stove + fuel, transceiver, shovel, probe
Rations for the expedition
Pulk / rucksack
Share of any group safety equipment
On the morning of departure, (as a team) we have to transport all of our equipment back onto
the trams and into the city to the Oslo bus terminal. This is easiest if people carry their own equipment in the duffle on their back and carry the pulks by hand together as a team.
-
Although we’re aiming for a full crossing, this course is ultimately about building the skills and confidence you need for your own future crossings. Weather, group skills and ambitions, and—most importantly—snow conditions will be at the front of our minds as we shape the course day by day.
On our own guide training this winter, we slogged for eight hours a day and barely managed 10km, simply because the snowpack was very soft and unsettled. That’s the reality of this type of travel. The key is staying flexible, adapting to conditions, and riding the wave rather than fighting it. This may mean we choose to do a big circular route choosing to stay off tracks, slogging for half the time and other half on the pisted tracks in the area.
Rest assured, our focus is on developing mountaineers. Throughout the course we’ll share our thought process and decision-making at every appropriate opportunity—explaining not just what we do, but why. That’s simply how we work.
-
Don’t forget your gaiters. Without them, not only can snow go down into your boots, but
we have found that snow builds up on the Velcro on ski boots and stops you from being
able to tighten them. Being able to tighten your boots is essential to stop rubbing, but
also to give control over your skis. A full length gaiter is what you want again lots of
options just look for a good price and not a scree/running gaiter.
https://montane.com/products/montane-alta-waterproof-gaiters?color=Black
-
Pee bottles are not essential, but when you have gone to the hassle of closing the tent, taking your boots off, covering your boots so they don’t get covered in snow in the night, stripped down, got into your sleeping bag, warmed the sleeping bag, shifted to get comfy …………………… and then you need to pee again, this will be the best money you have ever spent.
-
Ladies, if you purchase a “Shewee”
, go for the original brand, as the Amazon copies are
not effective at sealing. P.S. Make sure you spend at least a week practising — starting
in the shower and leading on to technical sleeping-bag manoeuvring.
-
If budget and space allows I love a large Thermarest pillow for me its the element of glamping I can’t sleep properly without. Lots of people are very happy to just use spare clothes or downjacket stuffed into a dry bag!
-
Bring an XL dry bag or big heavy duty bin bag to put over your boots in the night incase spindrift(windblown slow blasts through the tent and can end up filling your boots!
-
Don’t forget 2 spoons and ideally the outdoor style that are long to make it easier to get to the bottom of the ration packs.
-
We will supply you with a basic version of a vapour barrier sock for the expedition—these are total game changers for keeping your feet warm in arctic conditions. If you'd prefer to purchase a fancier version instead of the bin liners we provide (which perform the same function), you can find a link here. https://bit.ly/4aHtv4L